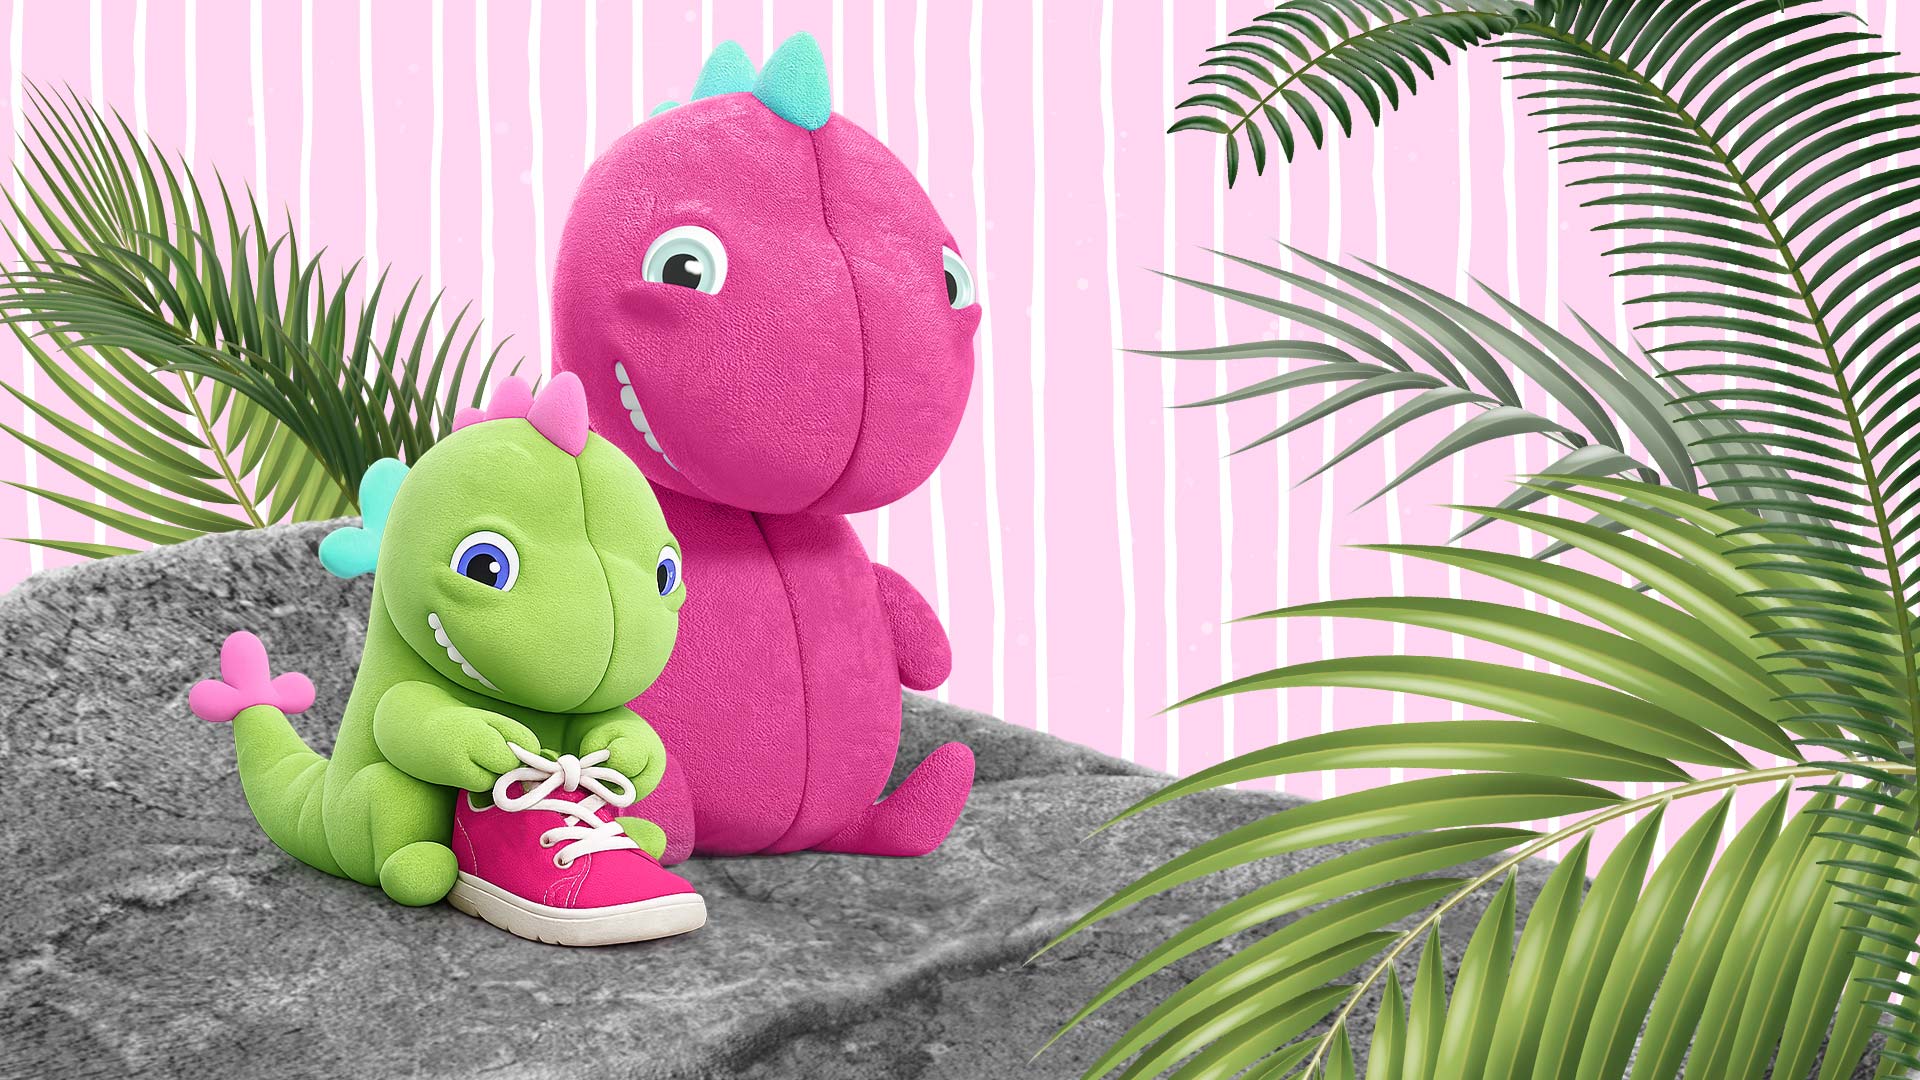
.jpg?ts=1769669706 "superfit Girls DASH Sneakers low with Lacing - Colour: Red")
"Mum, I'd rather wear the ones with Velcro!" – Tying shoelaces is a real challenge for children and is therefore often avoided. What can you do when it just doesn't work? Because it is important for children's development to be able to tie their own shoelaces, we have put together the best instructions and tips for parents.
Why children should learn to tie their shoelaces
Many children learn to tie their shoelaces very late. This is partly because there is a wide range of kids' shoes with practical Velcro fastenings that make tying laces unnecessary. On the other hand, learning practical skills generally takes a back seat.
Yet tying shoelaces has many positive effects on children:
- It promotes the development of fine motor skills and hand-eye coordination.
- Children who can tie their shoes themselves develop independence and self-confidence.
- Properly tied shoelaces ensure that shoes fit snugly and reduce the danger of stumbling over your own laces.
When should children learn to tie their shoelaces?
As with many topics, there is no universally ‘right’ time. Many children are able to learn to tie their shoelaces as early as preschool age. Others need more time and only master it a little later.
Generally speaking, parents and early years teachers can teach children how to tie their shoelaces when they are around five to six years old. By that age, most of them have already developed the necessary motor skills. However, every child learns new skills at their own speed. So be patient, and support your child during their individual learning process.
How can I teach my child to tie their shoelaces?
Babies and toddlers watch with fascination when their parents or older children at nursery tie their shoelaces. But when they try it themselves for the first time, frustration quickly sets in: they just can't seem to get the knot right! Learning to tie shoelaces is no easy feat and takes some time, but with the right approach it can even be fun.
The following should be kept in mind:
Make it a joint project!
Tying bows is something that can be practised well together. Playful learning, small successes and support from siblings, grandparents or friends make the whole thing easier – and ensure that learning is fun.
Be patient.
Learning to tie shoelaces should not be a difficult test that causes the child to develop a fear of failure. Therefore, it is very important to remain patient if your child cannot tie the bow properly, even after a lot of practice.
Encourage practice.
Lots of practice is the key to learning a new skill. And tying shoelaces is no exception!
Praise your child!
Even small steps forward deserve praise. Positive feedback motivates and encourages your child to keep going.
Use child-friendly tools.
Child-friendly instructions, mnemonics (‘rabbit ears’, ‘the tree’) or homemade bow trainers help to convey the tying process in a clear and understandable way.
Instructions and templates for learning to tie shoelaces
A child's learning process can be supported by (visual or auditory) images. Instructions in the form of pictures and rhymes will help your child to remember the motion sequence for tying a bow.
Method 1: The tree
This is one of the standard methods for teaching children how to tie their shoelaces. The two shoelaces become a "tree" and a "rabbit" – the child has to chase the "rabbit" around the "tree" in order to tie a knot in a way that feels like playing a game.
There is a rhyme that goes with the tree method intended to help children to remember the steps:
"Over, under, around and through. Meet Mr Bunny Rabbit, pull and through."

Step 1: Preparation
Place your child's shoes or the practice board in front of you and ensure that the laces are as straight as can be. This makes the job easier for small hands.
Encourage your child to pick up the laces, one in each hand. Now explain: "First of all, we make a tree trunk." Cross both shoelaces over each other, then thread one lace under the other. This creates a simple knot.

Step 2: Make a tree
Now form a loop with the right shoelace.
“Over …”

Step 3: Mr Bunny Rabbit
Now the left lace is threaded around the front of the "tree trunk".
"... under, around and through. Meet Mr Bunny Rabbit ..."

Step 4: Pull
Now the left lace (Mr Bunny Rabbit) is "chased" through the loop created like this. Careful, though: not "head first" (i.e. with the end of the shoelace), but using the middle.
"… pull ...”

Step 5: ...and through!
Finally, both loops are carefully pulled tight until the knot is secure. Your child has now successfully tied their shoelaces!
"...and through."
Alternatively, this technique can also be explained using the image of a mouse. In that case, say the following rhyme:
"Mouse builds a house, goes once around and comes out again at the front."
Method 2: Bunny ears
A second technique is the equally popular and child-friendly "bunny ears" method. There is also a rhyme to go with this method:
"Bunny ears, bunny ears, playing by a tree. Criss-crossed the tree, trying to catch me. Bunny ears, bunny ears, jumped into the hole, popped out the other side beautiful and bold."
Why is it called that? That's obvious:

Step 1: Preparation
Start with a simple knot.

Step 2: Make bunny ears
Your child should hold one shoelace in each hand. They're the "bunny ears".
"Bunny ears, bunny ears, playing by a tree."

Step 3: Cross bunny ears
Now your child crosses the bunny ears by guiding the left one over the right one to make an X.
“Criss-crossed the tree, trying to catch me.”

Step 4: Through the loop
Now your child takes the right (bottom) bunny ear and threads it across the left one and through the loop it has created.
“Bunny ears, bunny ears, jumped into the hole, …”

Step 5: Tighten the bow
All that's left now is to carefully pull at the two ends of the bow to tighten the knot – and you have a finished bow!
“…popped out the other side beautiful and bold."
How do left-handed children learn to tie their shoelaces?
Basically, tying shoelaces for left-handed people is no different from the method for right-handed people. The steps are the same – it is important that the steps are easy to follow and are performed with the dominant hand.
It is helpful to sit opposite the child. This creates mirror-image movements, which make orientation easier and support learning.
We would like to point out that by activating the video you agree to the data transmission to Google/YouTube.
Crafting a practice board
A homemade lace trainer is ideal for practising tying shoelaces in a playful way. With a little cardboard or an empty egg carton, you can quickly make a practical practice model – perfect for repeating the movements regularly.

What you need:
- Cardboard or egg carton
- Shoelaces
- Scissors
- Pens, stickers etc. for decorating, if required
How to make it:
Craft the practice board together with your child and let them decorate it as they like!
1. The board
A piece of cardboard, e.g. from a Superfit shoe box, or alternatively an empty egg carton, is suitable as a base. If using cardboard, simply draw a shoe shape – ideally in the child's shoe size – and cut it out.
You can easily download a template to cut out here:
2. Decorate
Now it's time to add some colour: felt-tip pens, stickers or craft materials can be used to personalise the lace trainer.
3. Punch holes
Mark six holes on both sides of the shoe shape and carefully cut them out with the tip of a pair of scissors – just like real lace holes.
4. Insert shoelaces
Now thread the laces through the holes – just like on a shoe.
The bow trainer is now ready to use for practising tying bows!
Discover lace-up shoes for kids


 Fast delivery
 Free return shipping
 Directly from manufacturer